Character mesh and animation are transferred into Unreal by Exporting FBX files from Blender and importing them into Unreal.
Unreal can import two types of Mesh from FBX files, Static Mesh or Skeletal Mesh, this document will cover the process of importing Skeletal Mesh assets.
- Replace the Template Skeletal Mesh with your Own.
Right click and re import with new file, selecting your character mesh FBX as the source. - Reset Material order to FBX and Rebuild the skeleton when asked.
- Replace the Template Idle Sequence with your own.
Right click, and re import with new file, selecting your exported test Idle .FBX as the source.
Replace the Template Mesh
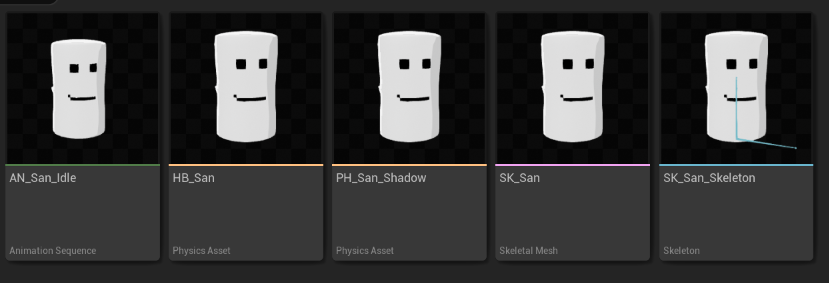
Upon initial creation of a character mod Sandbert template assets are generated for the Skeletal Mesh, Skeleton, Physics Asset, Hurtbox Physics Asset and Idle Animation Sequence assets. These are preassigned to various scripts and blueprints required for gameplay, as such we recommend using these as a foundation to replace with your own content when importing your main character mesh rather than importing your character mesh separately.
Open your character’s Unreal assets folder in Unreal: Content/ModContent/[ModID]/UnrealAssets
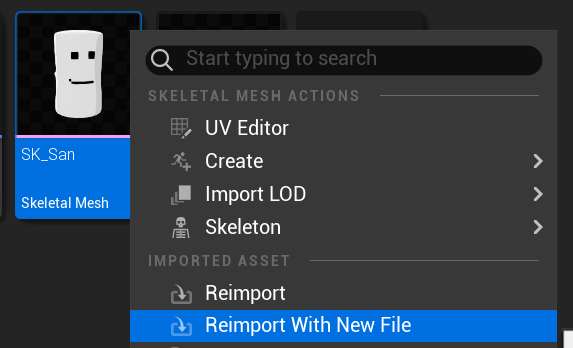
Select the sandbert template Skeletal Mesh asset and right click, re-import with new file.
Reset Material order to FBX and Rebuild the skeleton when asked
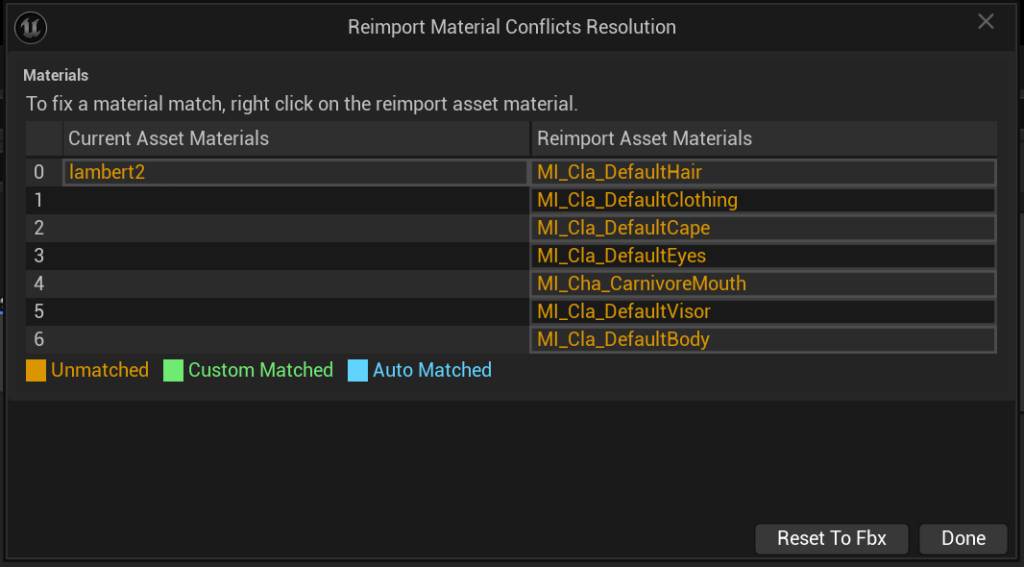
Unreal will first alert you to a change in the material assignments, this is expected, click Reset to FBX to continue.
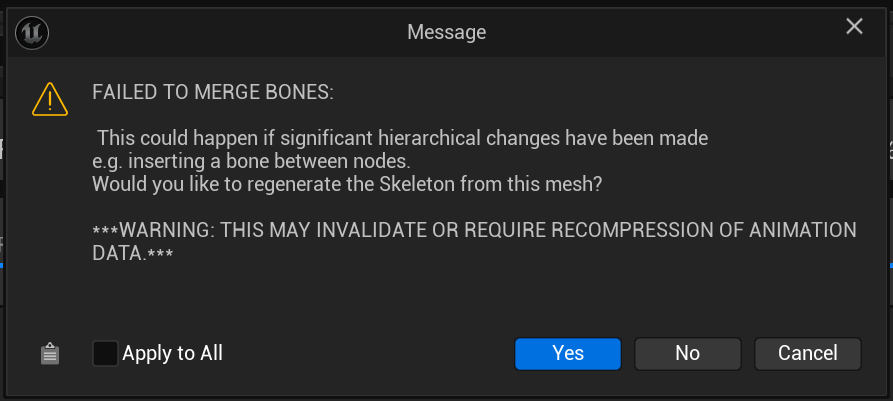
Next it will alert you to a change to the Armature, this is also expected, click yes to continue.
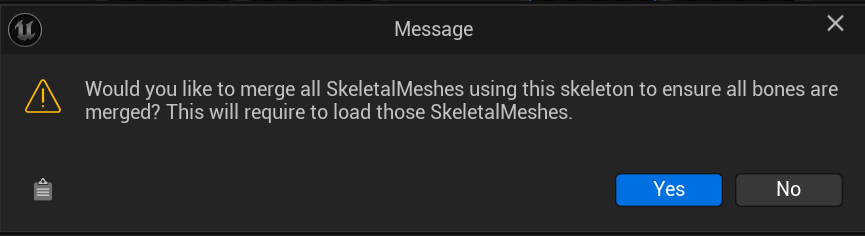
Click yes once more to continue.

The message log will complain about incompatibilities, most of these warnings are simply outlining the differences between the template and newly imported mesh files. This is expected and therefore can be ignored as long as your mesh is successfully imported. If the mesh fails to import you may need to look more closely at the output log.
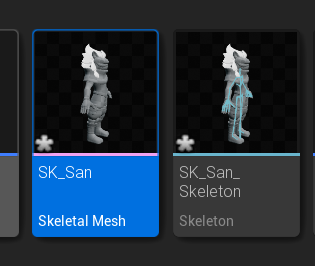
With the files updated be sure to save all files marked with an asterisk to retain your edits.
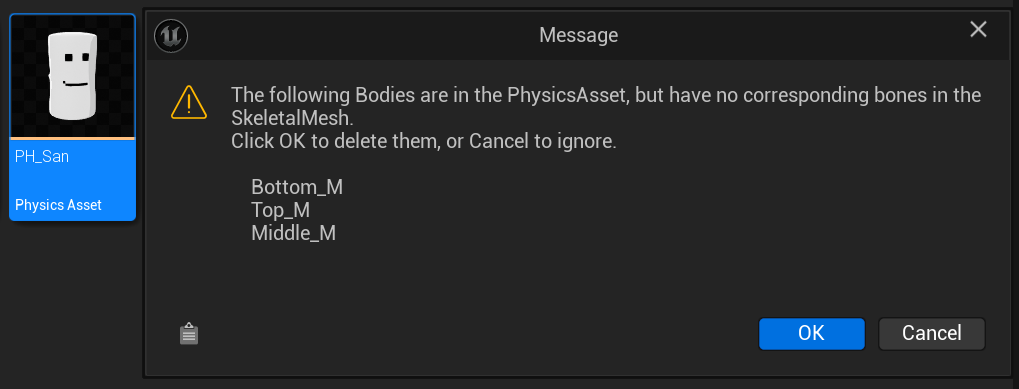
Replace the Template Idle Animation
Right click on the AN_”ModName”_Idle file and click re import with new file, then navigate to your exported Idle Animation FBX.
Import Skeletal Mesh Into Unreal
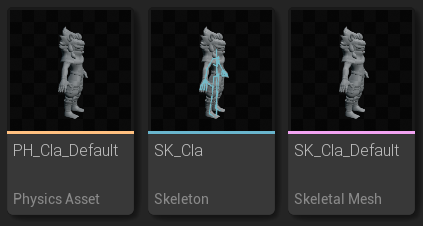
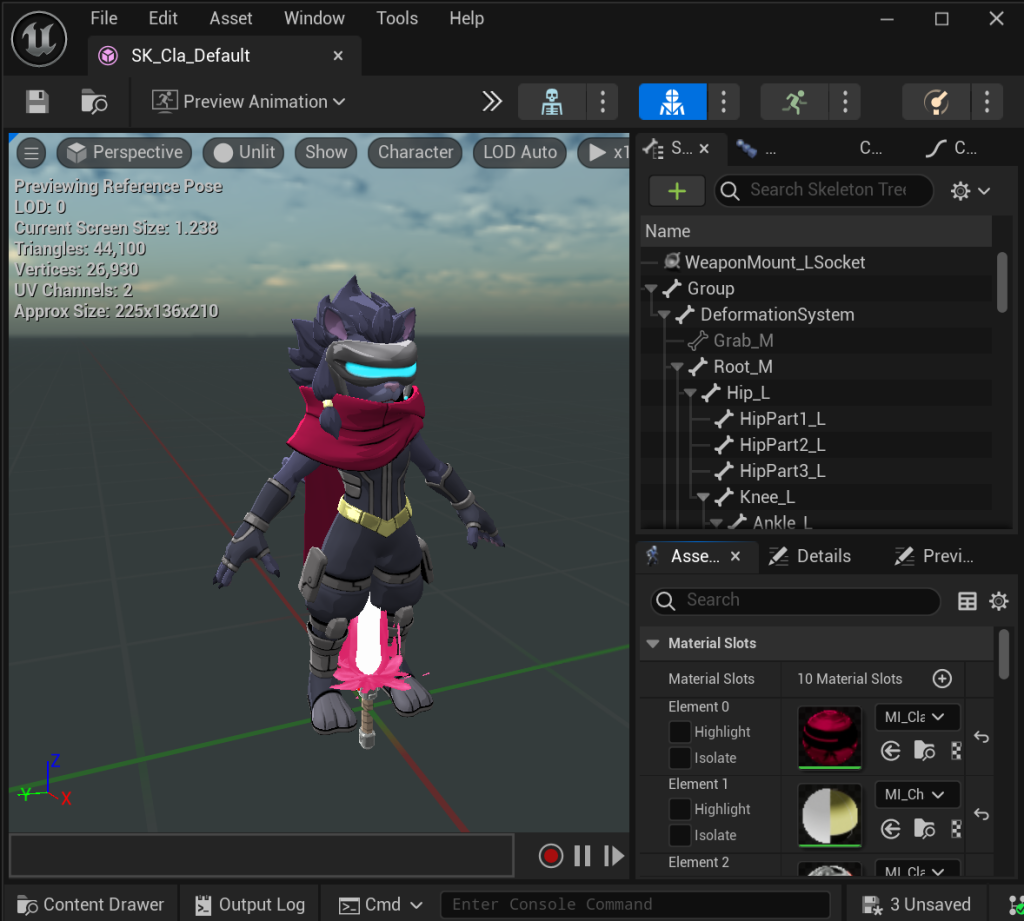
- Skeletal Mesh is used for armature deformed mesh like characters, the FBX file must include armature bones as well as geometry and skin weight values in order to be imported as a Skeletal Mesh.
- Static Mesh is used for solid objects that do not need to deform with an armature, do not import your character content as static mesh, if the skeletal mesh option is missing during import, your exported FBX is likely missing the armature and skin weight data, please review your export settings.
- FBX files imported into Unreal Engine as Skeletal Mesh assets will contain the character’s model, and skeleton. The character’s skeleton will be imported as an additional asset called a Skeleton asset, which you can view and edit in the Skeleton Editor.
- A Skeletal Mesh does not need to be a creature or character, many articles and effects in ROA2 from Kragg’s Pillar to Slade’s Treasure chest are skeletal mesh. This document aims to cover the process for importing these assets into unreal.
- Multiple Skeletal Mesh assets can share the same Skeleton asset in Unreal, to allow animation sharing across the different skins of a character for example.
- Control Rig data should never be included in any FBX files, only geometry, joints and animation data along with materials and textures can be properly transferred this way.
- Skeletal Mesh will import with “Material Slots” these match the materials you had assigned in blender at the time of export. It is much easier to manage these in Blender than to edit them in Unreal.
- You can rename your material slots as you need to for dynamic color or material override setup later.
- Once imported into the project, these files can be continuously re-imported if edits in Blender are needed by right clicking and choosing reimport.
- You can display the bones of a skeletal mesh asset by clicking on Character->Bones-> All Hierarchy at the top of the viewport.
- You can preview your shape Keys by opening the Morph Targets panel in the skeletal mesh editor.
Skeletal Mesh Assets – Unreal Documentation
Import Skeletal Mesh Settings
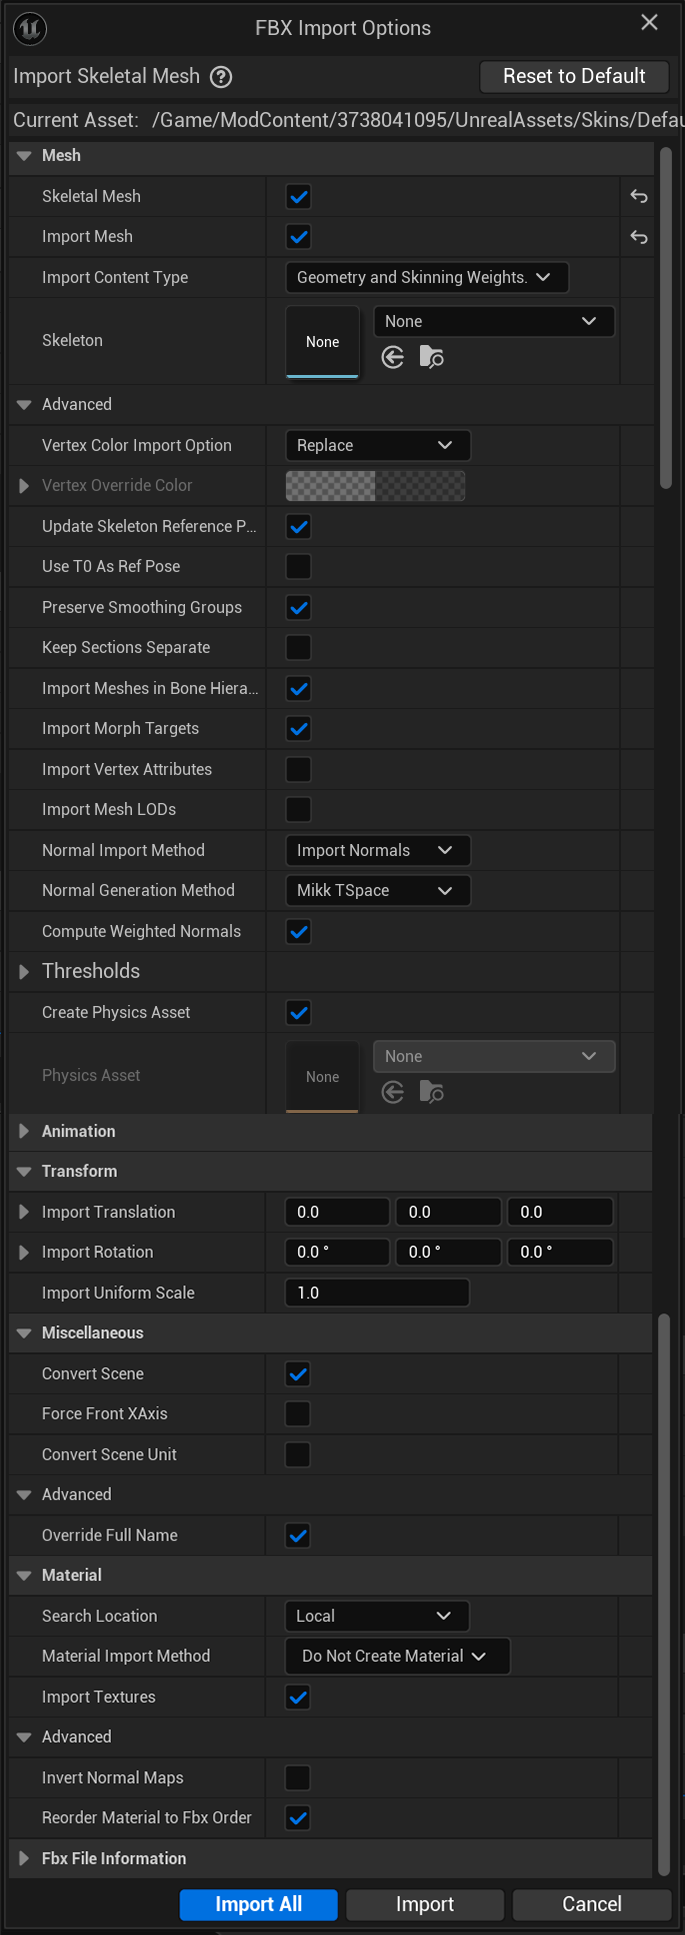
Mesh
- Skeletal Mesh is checked
- Import Mesh is checked
- Skeleton is set to None (or assign appropriate skeleton for animation sharing)
Mesh – Advanced
- Vertex Color Import Option is set to replace
- Update Skeleton Reference Pose is checked
- Preserve smoothing groups is checked
- Import Meshes in Bone hierarchy is checked
- Import Morph Targets is checked
- Normal Import Method is set to Import Normals
- Create Physics asset is checked (Or assign appropriate existing Physics if skeleton is shared)Can be generated later via right click menu if you miss this.
Animation (Only visible when animation exists in FBX file)
- Import Animations is unchecked
Transform
- Import Uniform Scale is 1 – This value can be used to offset the scale of your asset in a pinch but it will introduce errors with capsule shadows, instead correct scale in Blender before export.
Miscellaneous
- Convert Scene is checked
- IMPORTANT Ensure Override Full Name is checked – If you miss this unreal may fail to import mesh and only generate the skeleton asset.
Material
- Ensure Material import method is set to Do Not Create Materials – delete any materials generated if you forget this option as you will be generating your own.
- Import Textures is checked if you wish to import textures assigned in blender, although you will likely need to further manage textures in Unreal.
- Reorder Material to FBX order is checked
IMPORTANT: If your character is imported at too small or too large of a scale you will need to scale them in Blender, be sure to apply transforms to your armature bones.
If you have already animated you character then you can try changing your export scale and re exporting/Importing both Skeletal Mesh and Animations
Import Animations into Unreal
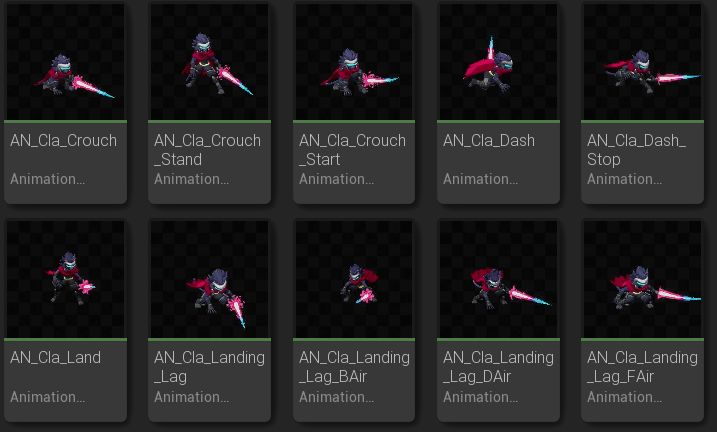
Importing animations in Unreal will produce Animation sequence assets. You will need one sequence asset per Animation state. A sinle FBX file can contain multiple animation clips and Unreal will import each as a separate sequence.
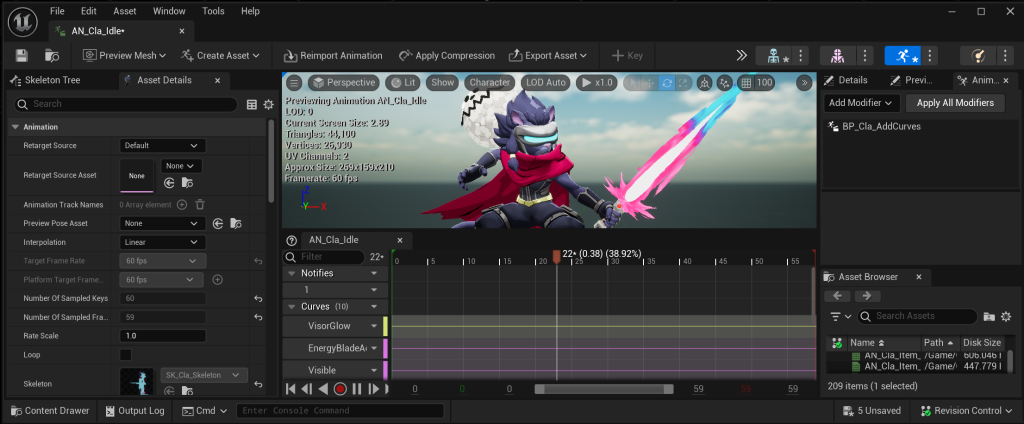
Double clicking an animation asset will open it in more detail in Unreal
Animation Sequence – Unreal Documentation
Ensure that the following Import Settings are active when importing an animation clip into the project:
- Ensure Import Mesh is NOT checked (if the FBX also contains your character model)
- Ensure Import Animations is checked (if the FBX also contains your character model).
- Ensure Use Default Sample Rate is NOT checked.
- IMPORTANT Set Custom Sample Rate to 60. – If this is missed the game will crash when attempting to load your character.
- Segment scale compensation (A Maya feature for counter scaling on child joints) is not reflected in Unreal, this feature should be disabled for all joints in Maya
- Non-uniform scaling will give undesirable results on joints with children, avoid non uniform scaling on joints with children, however you may reliable use it on the end joints of a chain.
Open your character’s UnrealAssets folder
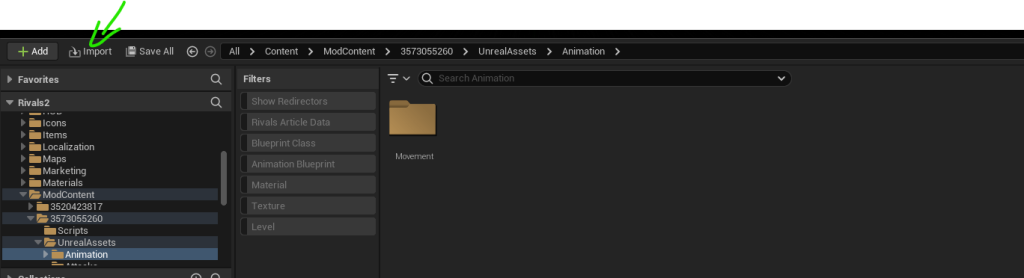
- In the content browser open your character’s UnrealAssets folder.
- In the top left corner of the content drawer, click Import
- Select the path to the FBX file containing the animation you exported from Blender and click Open
Import Animation Settings
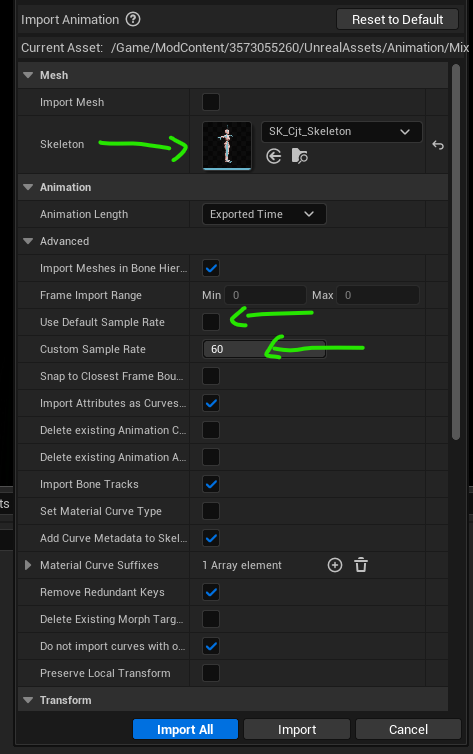
- Assign the appropriate skeleton for this animation, it will search the current folder for a default option.
- Ensure Import Mesh is NOT checked (if the FBX also contains your character model)
- Ensure Import Animations is checked (if the FBX also contains your character model).
- IMPORTANT: Make sure you set the following values as well. If you don’t, the game will crash when you try to play.
Assigning Animation
Characters need their basic action animations assigned in their CD_(charactername) file. Ex. CD_Clairen
- Open your character’s CD_ file located in Content/ModContent/UnrealAssets
- Under the Animations category, add an animation to all of the entries under State Animations, Aerial Grabbed Animations, and Thrown Animations. If you do not have any animations, by default these will all source the template Idle sequence. Reimporting this sequence with one of your own will maintain their connections in this file.
In order to automatically populate the list you can:
- Find the Animations Directory and assign it to the characters Animation folder path.
- Also assign the correct Animations Prefix. Example for both below:
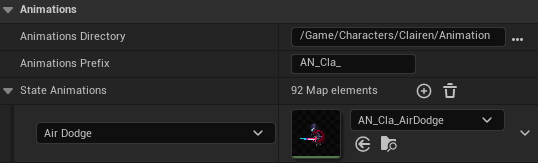
- Assuming your animation sequence names match existing characters, the list should auto populate, assigning the appropriate sequence to each entry.
- If the animations are not automatically updated, click on the individual State Animations on the right side and manually assign the desired animation for that state.
Attack animations are assigned in the appropriate attack data file, along with window definitions, animation start frame and frame duration must be set per window.
- In general you should attempt to match the animation frame length to the attack window length, however if there is a mismatch the animation playback will scale to fit the attack data gameplay window. This is useful for tuning gameplay without needing to update animation assets every time you make a change and can be left as long as you are happy with the visual result.
Troubleshooting FBX files
If you are getting unexpected results after importing your FBX files it can be helpful to create a blank scene in Blender and import the FBX files one at a time to review their contents. If the FBX file looks broken in Blender, something is likely wrong with your Blender Export Settings. If everything looks correct in Blender, there is likely something wrong with your Import Settings in Unreal.
If your FBX will not import into Unreal at all, you likely are missing mesh bound to armature, check to ensure that your exported file includes both the bones, the geometry and that the geometry is bound to the armature.
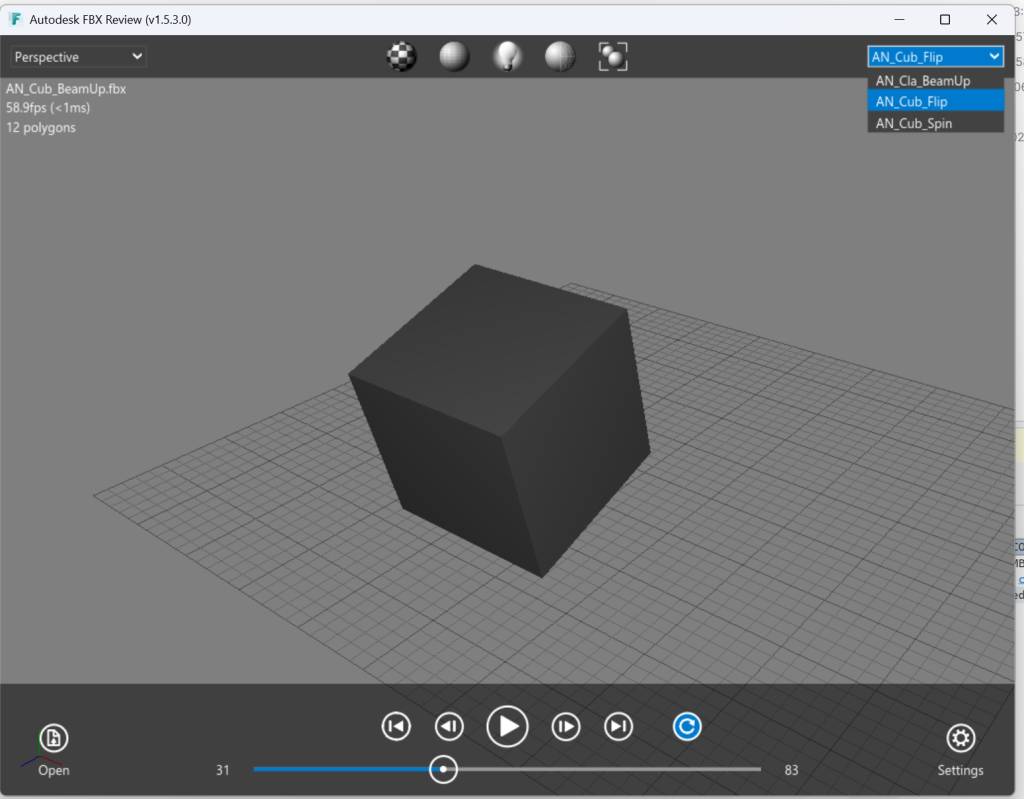
You can also get a standalone FBX viewer tool for free from Autodesk that lets you quickly review your FBX contents without opening them in Blender.