
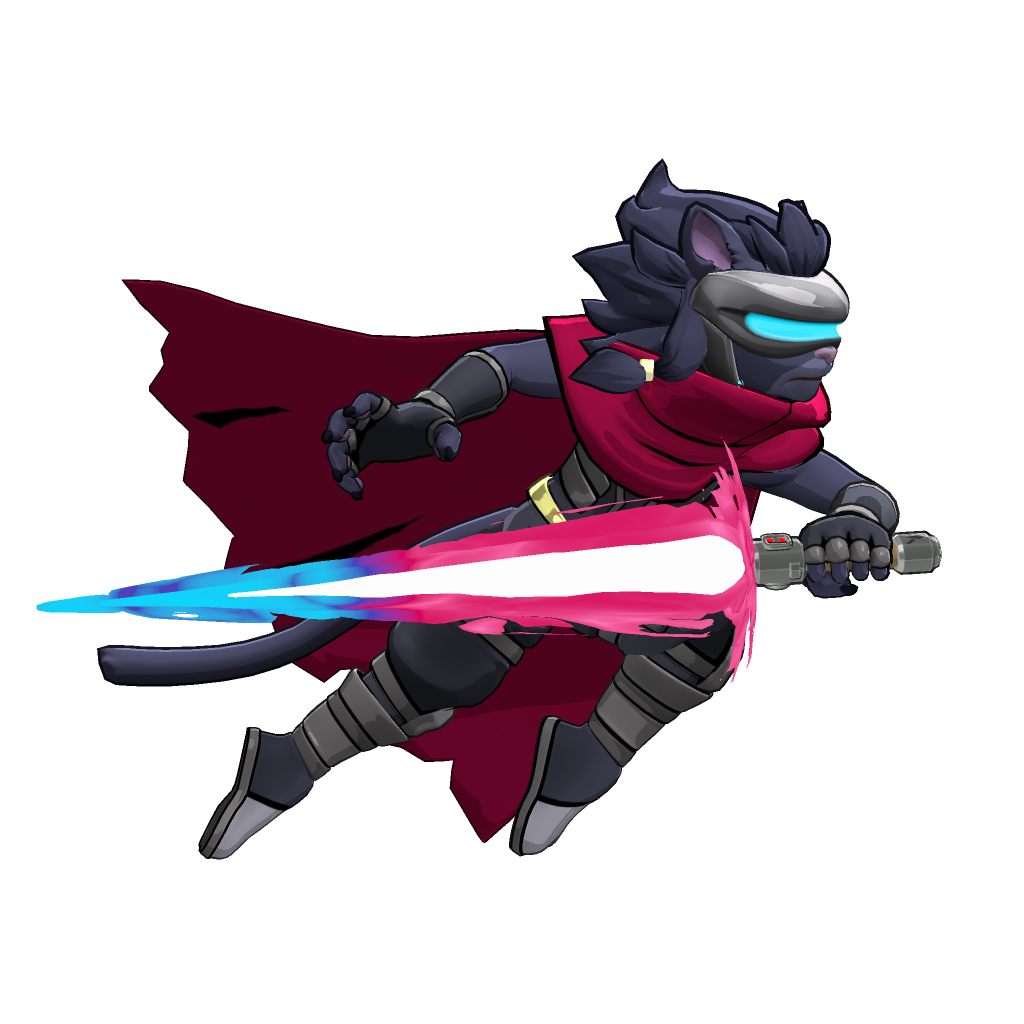
Your character will need a CSP (Character Select Portrait) for each palette that you generate. It’s the image that is displayed when you choose a character in the character select screen, and various other parts of the UI. When creating a character mod a template Sandbert CSP is generated for each palette.
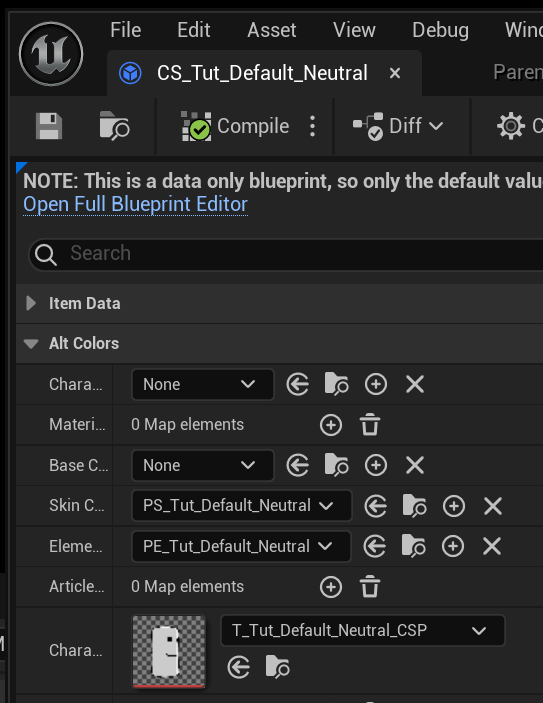
Upon generating your mod you will have a separate CSP of sandbert assigned to each palette’s CS file.
These can be found in the Unreal Assets/Skins/SkinDefault/Data/Palettes/”PaletteName” folders.
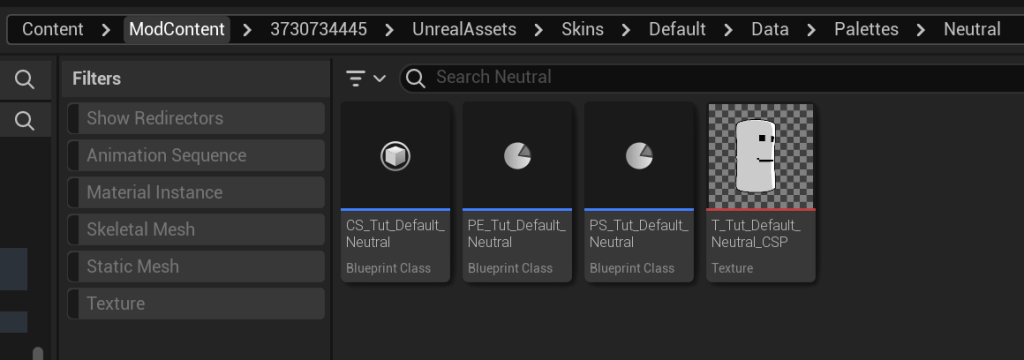
You can replace these with any image you like, however ROA2 characters use the photobooth tool to capture their CSPs.
A Render Data (RD_”Name”_Default_CSS) file will also be created that manages photobooth capture settings found in UnrealAssets/Skins/Default/Data/
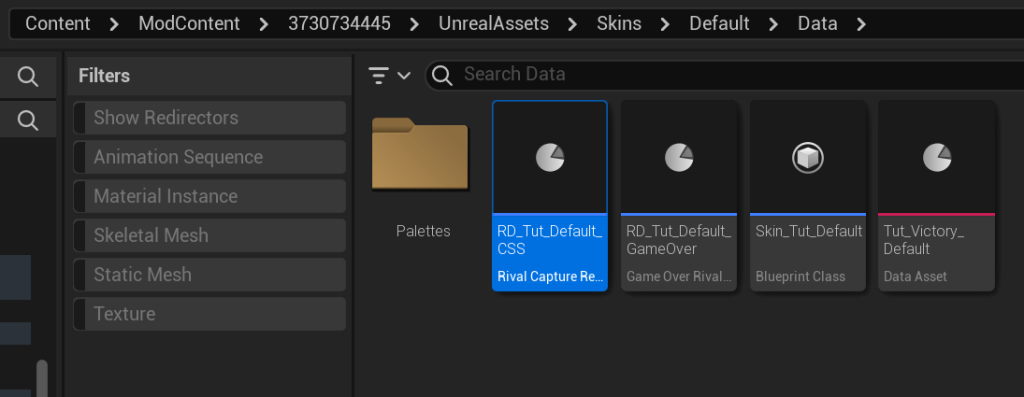
This file allows you to setup the pose and camera angle used for capturing the CSP among other details.
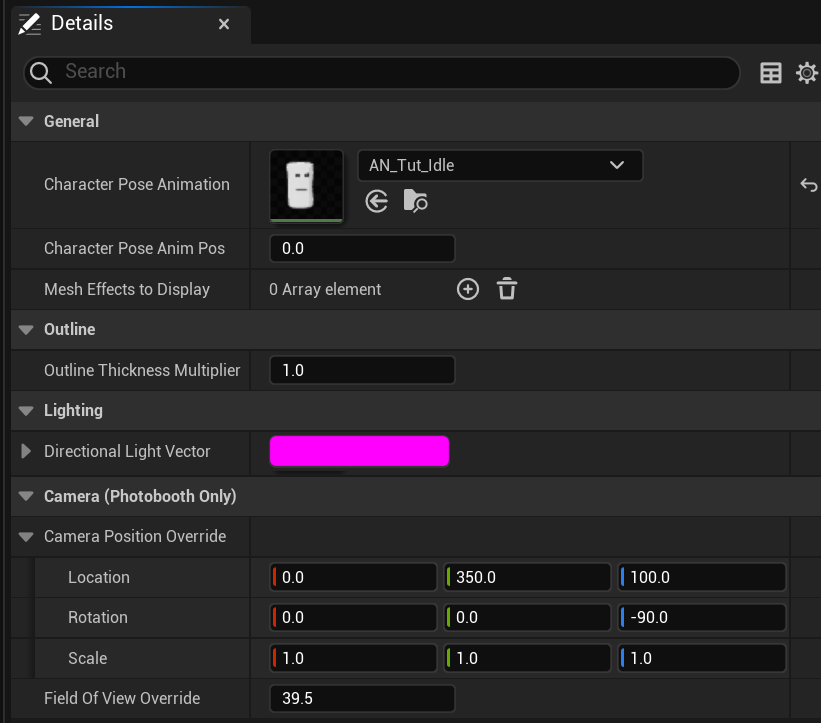
- Character Pose Animation – Choose an animation – often a unique animation made expressly for the CSP pose, otherwise gameplay animations can be used
- Character Pose Anim Pos – Choose the point in time during that animation to use for the CSP pose, useful if you are repurposing a gameplay animation
- Mesh Effects to Display – Allows you to display mesh effects on your CSP. Mesh effects must be defined in the CS file first, refer to the Mesh Effects documentation for more information.
- Outline Thickness Multiplier – Used to globally adjust the thickness of your outlines in the CSP.
- Directional Light Vector – Allows you to alter the lighting angle, the RGB values correspond with XYZ influence on the angle.
- Camera Position Override – Default values should be able to capture most characters but can be adjusted to refine results.
- Field of View Override – Adjust Camera field of view (Wider or narrower angle camera lens).
Generating your CSPs
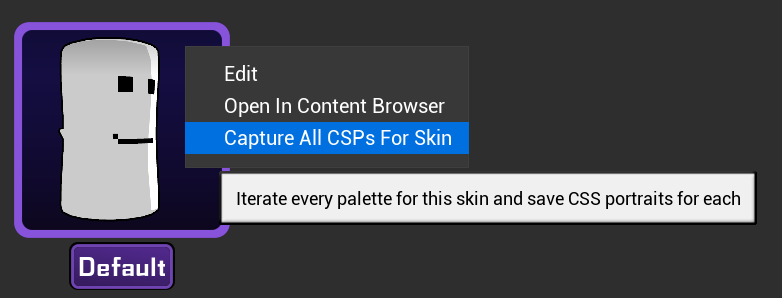
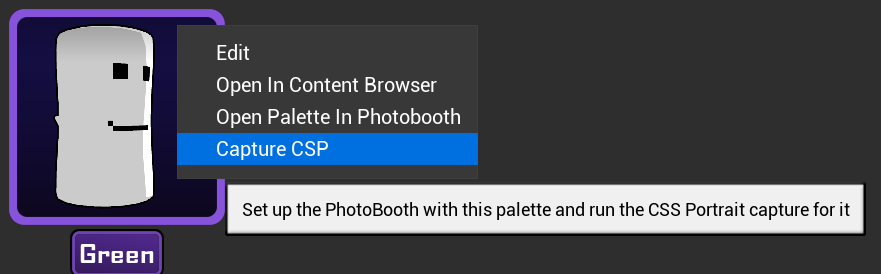
- First ensure that you have replaced the template Skeletal Mesh in your mod content folder with your own model and have setup their materials and textures. Ensure that the character is loading properly in game and is correctly scaled.
- In the Modding UI, right-click on any palette or skin and select generate portraits to generate the CSP images for that selection.
- Open the RD_CharacterName_CSS file to assign a pose, change camera positions or make other adjustments to the Portrait Capture as needed.
- Recapture the CSPs as needed.
- The CSP can be repositioned for different uses throughout the UI so focus on getting a clean image first (no clipping out of frame, clear readable pose) without worrying about how it fits into the UI just yet.
Once you are happy with your CSP you can set up offsets for proper display throughout the UI.
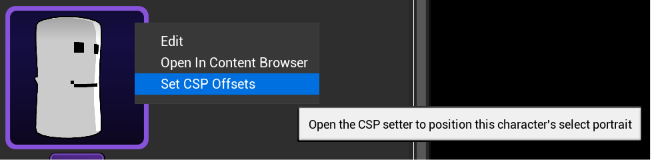
Right click on your Character Thumbnail and select Set CSP Offsets.
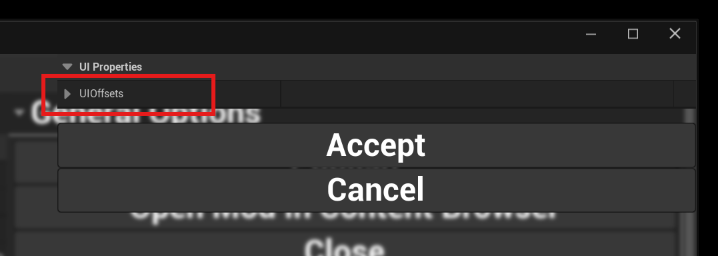
This will bring up an overlay with the UI Properties and UI Offsets drop down menus (These can be easy to miss, refer to the Image above!)
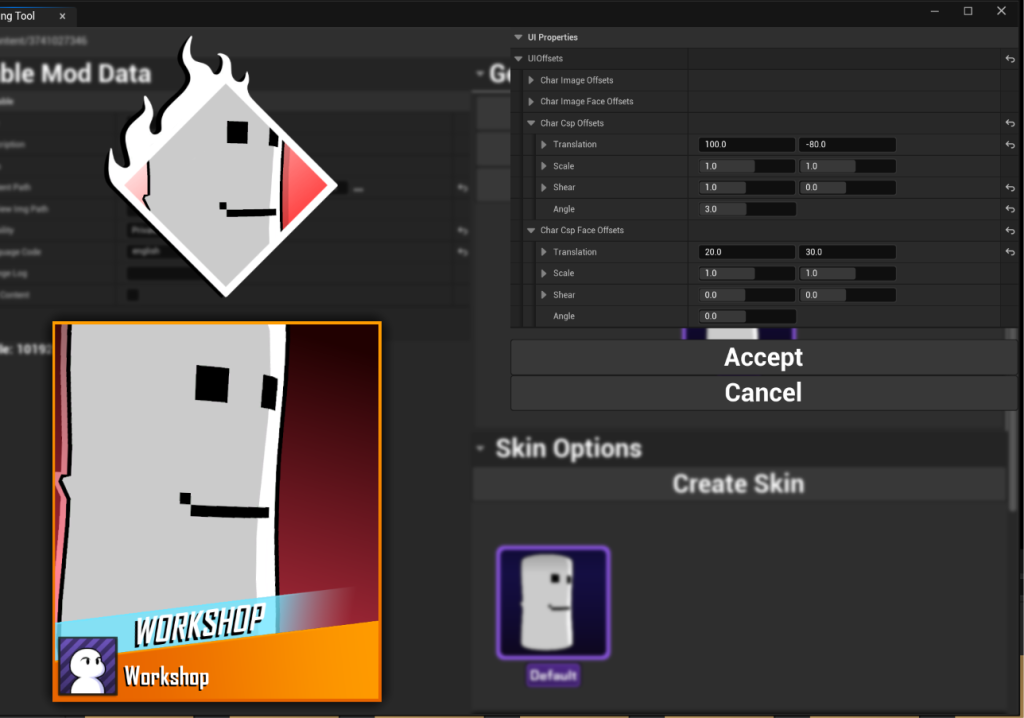
Use the previews on the left and adjust the values on the right until you are happy with the CSP position.
- Char Image Offsets – Currently Unused
- Char Image Face Offsets – Currently Unused
- Char CSP Offsets – Reposition the CSP in the Player slot on Character select screen
- Char CSP Face Offsets – Reposition the CSP in the gameplay HUD (Player slot in game)
When you’re happy with your offsets click Accept to save them.