
When your mesh is properly setup, visibility can be controlled either globally or by section by animating specific material parameters in Unreal. Use this technique to hide weapons, accessories or body parts that are visible the majority of the time but sometimes need to be hidden. If you instead want a mesh to be hidden the majority of the time and only shown during some states, consider instead using a Mesh Effect.
With everything correctly imported you should be able to preview the effects of these curves by opening your animation file.,
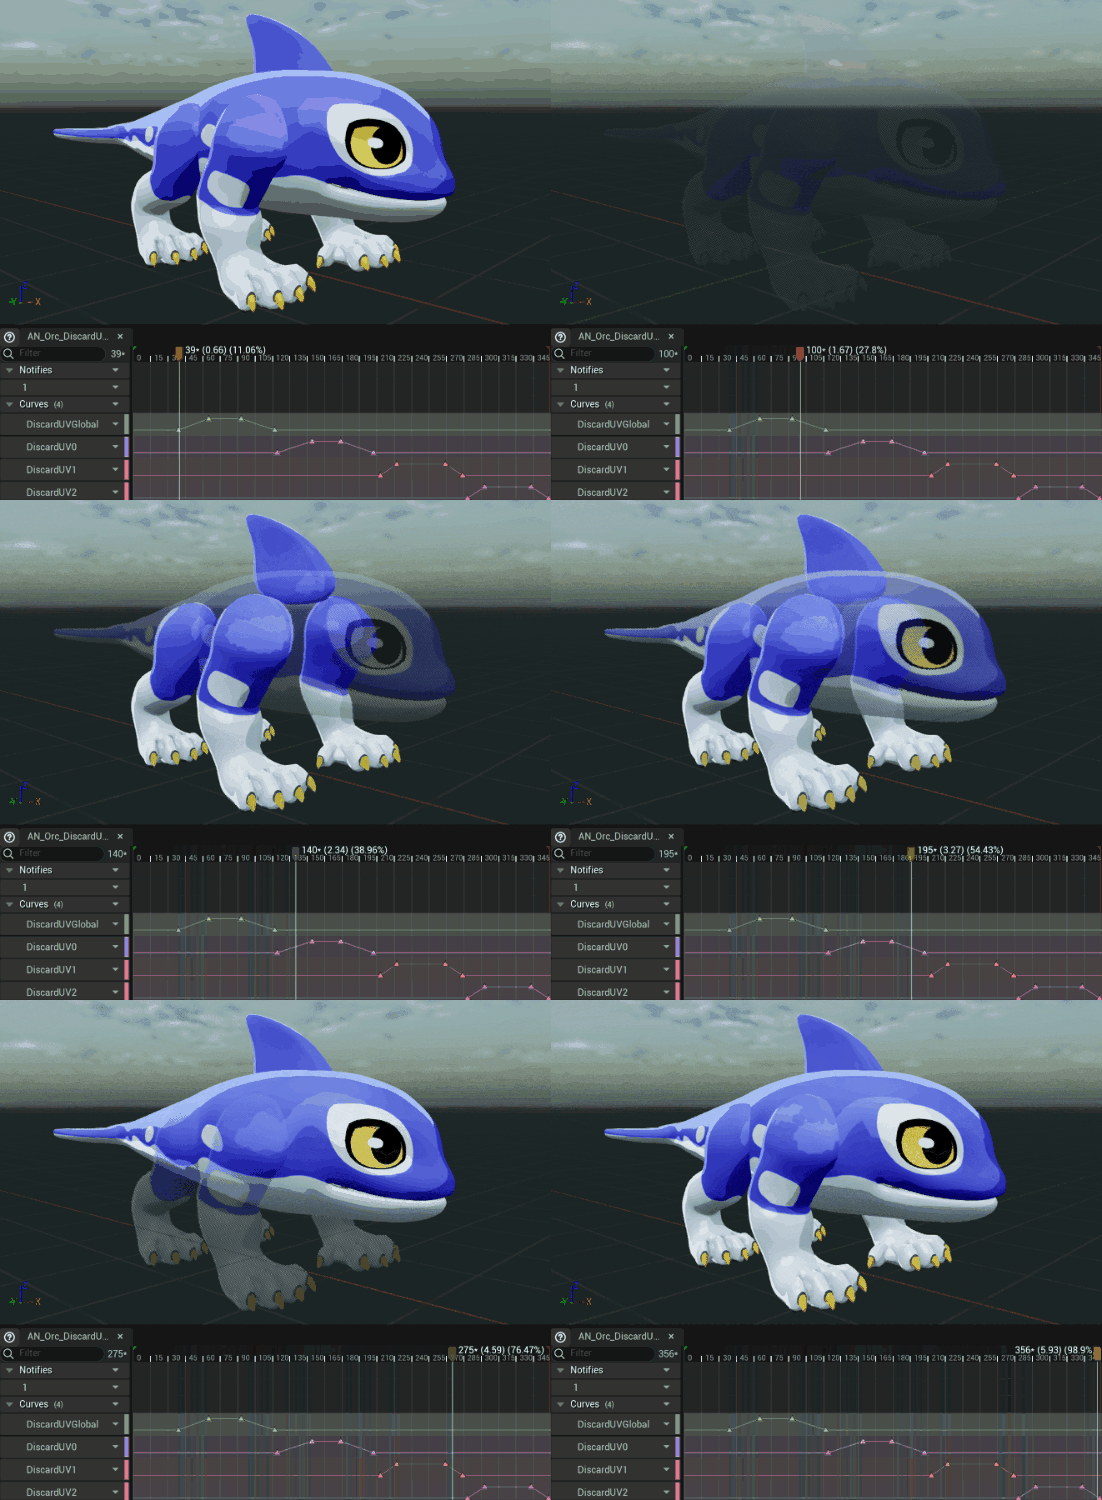
Note: This involves an understanding of Animating Material Parameters. It is relatively simple to implement at any time, feel free to leave implementation of it until you are more familiar with the animation and material setup process in Unreal and come back later.
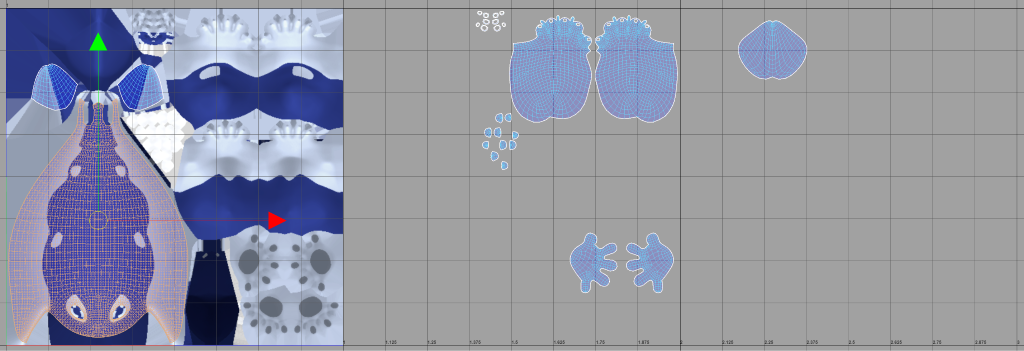
This method involves moving portions of the mesh UVs that are shown/hidden independently into other Uregions outside of the 0-1 space in your UV map.
In the case of Orcane the DiscardUV0 parameter controls his body visibility, DiscardUV1 controls his leg visibility and DiscardUV2 controls the fin visibility.
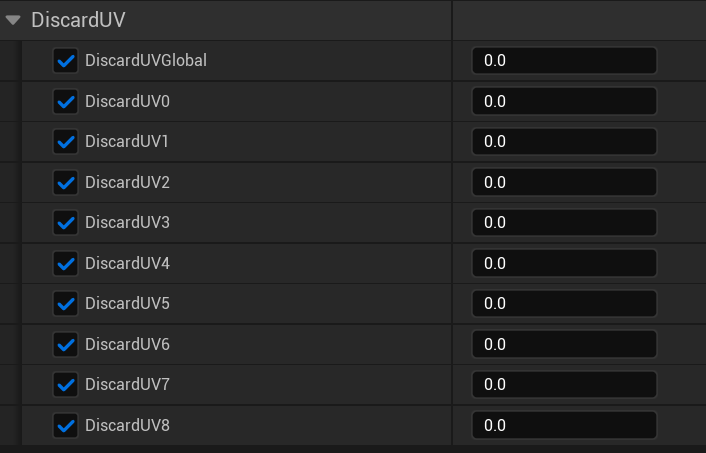
DiscardUVGlobal controls visibility of the entire mesh.
DiscardUV0-8 each control the visibility of any UVs mapped to the corresponding U coordinates.
Default values of 0 are visible while values of 1 are hidden, values in between will dither to approximate transparency.
You can animate these parameters either in Unreal by opening an animation sequence and adding the appropriately named curve or in Blender
In Blender, you will need one shape key named for each of the DiscardUV parameters you intend to use. We aren’t actually going to animate Morph targets with these, instead we will use their imported animation curves to control material parameter animations. Because we are using Shape keys we will need to enable “Import Morph Targets” on our animation files.
Once you have created or imported an animation with these curves present you will need to open the skeleton asset and add the Parameter curve name as well as change their curve type from Morph Target to Material Parameter with the “Type” check boxes.

