
Playtesting your work as quickly as possible is critical for making progress, this page aims to explain the methods available for playtesting your content in the workshop.
Be sure to connect any controllers you wish to use before clicking play, in Play mode controllers will auto bind in the order they were touched after the game starts. Sometimes if a controller is connected after Unreal is launched you may need to restart the editor before Unreal will register it.
Playtest Through Modding UI
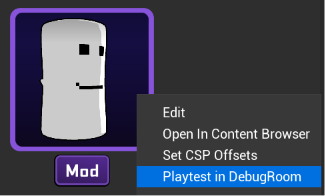
If you have already created a character mod you can right click on your character icon in the modding UI and select Playtest in DebugRoom to quickly load a lightweight Debug Room Level and play with the selected mod character as player 1. Expect long initial load times when launching play in editor.
Playtest Though Rivals Developer Settings
For more in depth testing the Rivals Developer Settings menu will allow you to customize your play test scenario. You can choose any stage, the number of players and which character is selected per slot, set up CPU levels, stock counts and more.
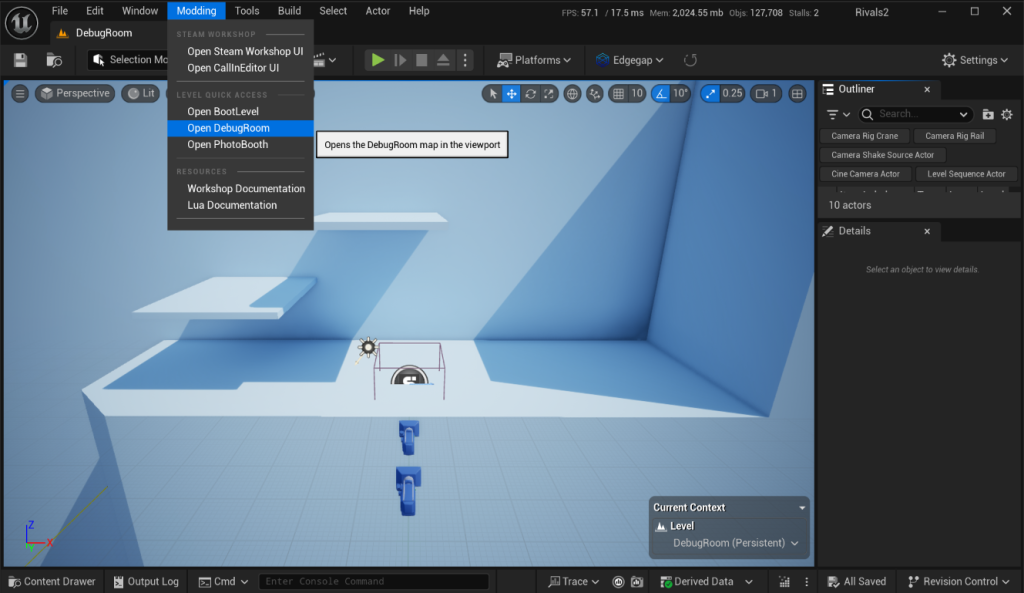
Open the Modding menu on the Menu Bar at the top and click Open DebugRoom to load a lightweight stage perfect for quickly play testing your content.
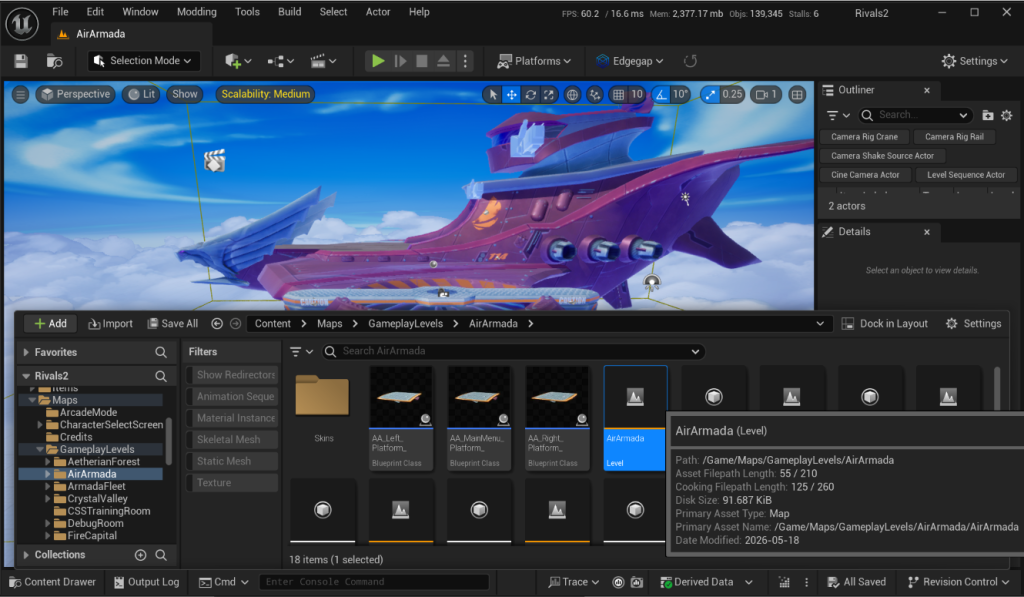
Alternatively press Ctrl+O or click File/Open in the menu bar to bring up the open level menu and navigate to any of the folders in
Content/Maps/GameplayLevels/ and double click the gameplay level asset within to open that level in order to playtest on specific stages.
In order to playtest this way you will need to first set up the playtest settings in the Rivals Developer settings menu located under editor preferences.
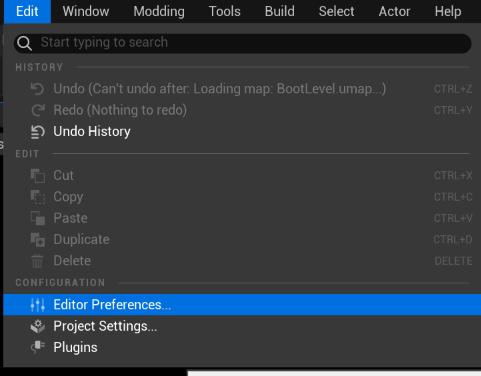
In the menu bar click Edit – Editor Preferences, then when the preferences window opens click on Rivals Developer Settings in the left hand column.
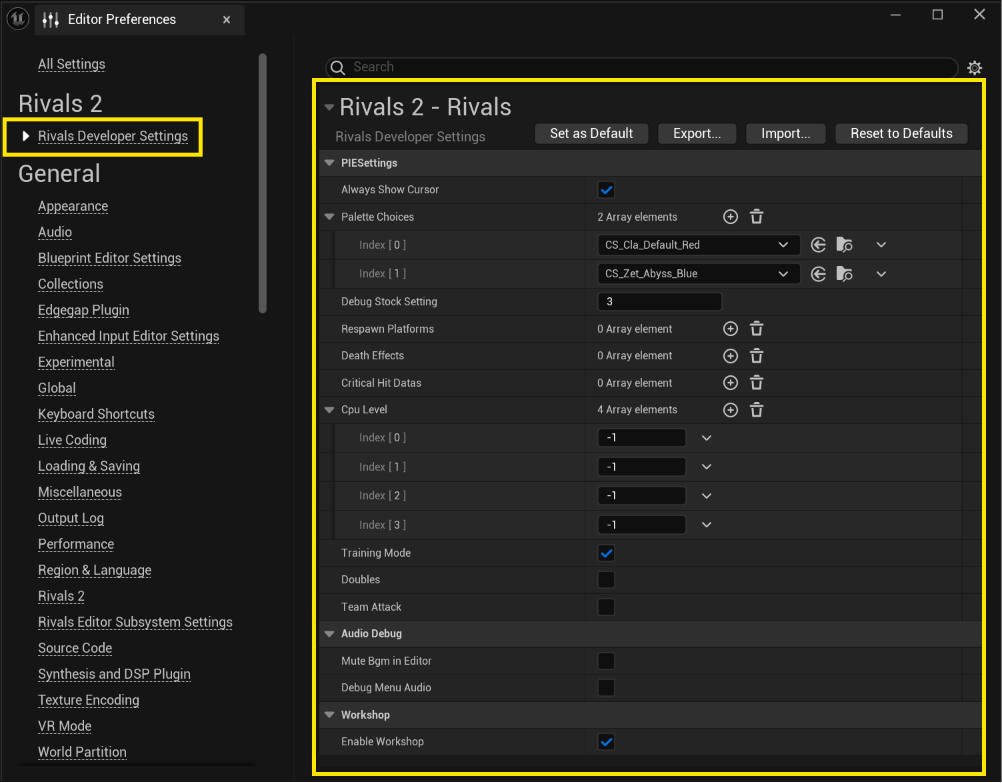
This will load the Rivals Developer settings on the right column allowing you to setup various playtest scenarios. By default no players will be present and the game will not load.
- Palette Choices – This is where you choose which character is loaded per player. Click the plus to add players to the list, each list item allows you to select a specific character skin palette. Mods that you create will appear in the dropdown list for these entries.
- Debug Stock Settings – How many stocks to start with, 0 is infinite.
- Respawn Platforms – Choose which respawn platform each player is using, default if no entry added.
- Death Effects – Choose which death effect each player is using, default if no entry added
- Critical Hit Data – Choose which Critical Hit each player is using, default if no entry added.
- CPU Level – Choose the CPU level (0 is a dummy, -1 is a human player controllable by device input)
- Training Mode – Leave this on for access to save states, hitbox display and other features.
- Doubles – Activates Doubles Mode
- Team Attack – Allows team mates to attack each other.
Audio Debug
- Mute BGM in Editor – Background music will not play while playtesting.
- Debug Menu Audio
- Enable Workshop
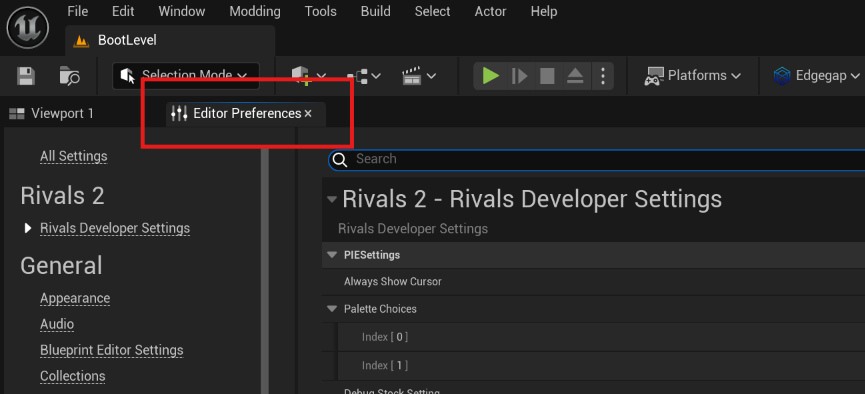
Playtest Through Main Menu (Boot Level)
To test loading your character via the Main menu and CSS open the Boot Level and click the play button.
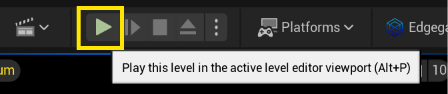
The workshop launches with the BootLevel loaded by default, you can quickly return to this level at any time by clicking Modding in the top toolbar and selecting Load BootLevel.
On the main Menu select Workshop
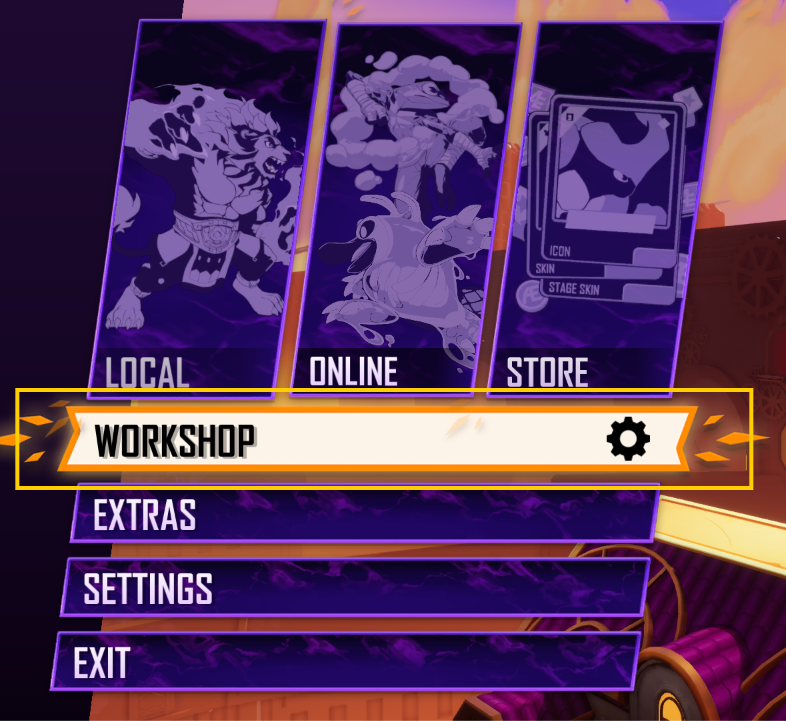
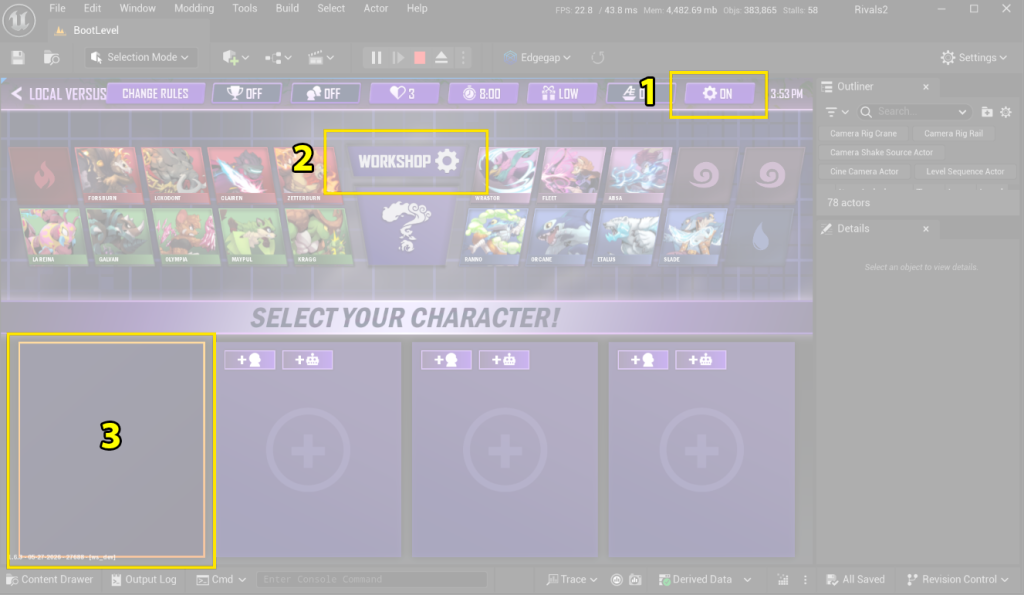
On the Character Select Screen
- Ensure that workshop mode is enabled with the toggle in the top right (Is enabled by default)
- Select the workshop Character Option in the center of the portraits
- In your player slot the currently loaded mod characters will be listed. If you do not see your character here you may need to stop playing in Editor, go to the character data (CD_ file) blueprint file for your mod and open it to force Unreal to load it, then try launching the game again.