
Articles are gameplay actors that need their state to be tracked separately from the character. They allow you to add dynamic elements to the battlefield and are used for all sorts of elements from Zetterburn’s fireball and Orcane’s puddle to Slade’s treasure chest or Kragg’s Pillar.
Create Article
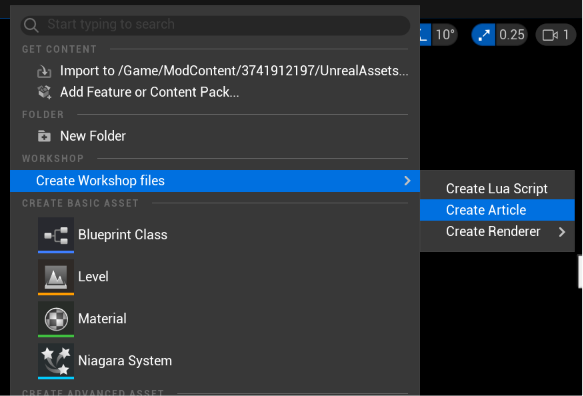
In the content drawer right click and create workshop files/create article
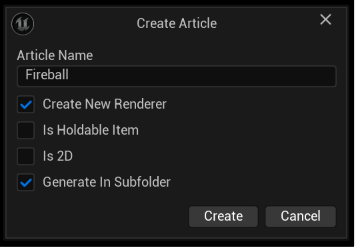
This brings up the create Article Dialogue where you can set the following options:
- Article Name – Give your article a name
- Create New Renderer – Choose whether or not to create a new renderer blueprint.
- Is Holdable Item – Does this sub article behave like an Item? (Can be picked up and used by any character)
Note: This does not create a bespoke item that will appear in the game rules, this article can only be spawned by the associated character (eg. Slade’s Shuriken item). - Is 2D – Set article Data and optional Renderer type to 2D (Sprite Flipbooks and 2D logic)
- Generate in Subfolder – Create a folder to Contain resulting Article assets.
Clicking create will generate the Article assets as well as an article LuaScript in your Scripts folder.
Article Visuals
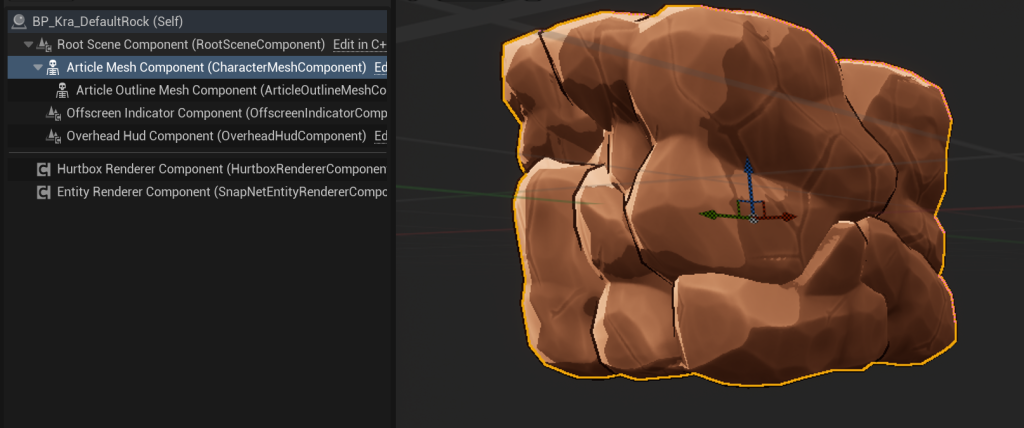
- Most articles include a Skeletal Mesh which you can assign to the Article Mesh Component inside a RivalsArticleRenderer. You can also leave this component empty and instead any other components you wish to the blueprint (Particles, Static mesh etc).
- In the article data you can define animation playback on the ArticleMeshComponent per window the same way you do with attack data.
Generate Article From Skeletal Mesh
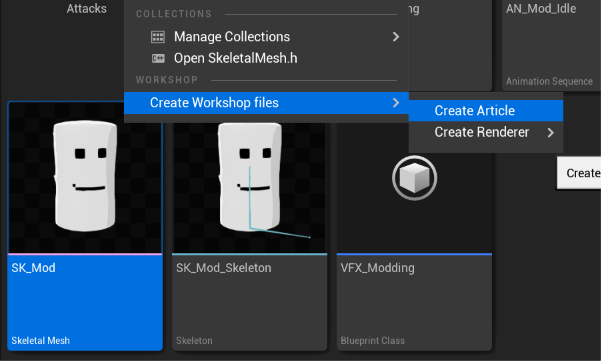
If your article should contain a skeletal mesh you can quickly generate an article by right clicking on a selected skeletal mesh and then Create Workshop Files/CreateArticle
This will generate the Article Data, Renderer and Lua Script as above, but with the selected Skeletal Mesh automatically assigned to the Article Renderer.

For a tutorial on setting up a simple article check out How to make a Rivals 2 Attack (Adding a projectile to an Attack section)